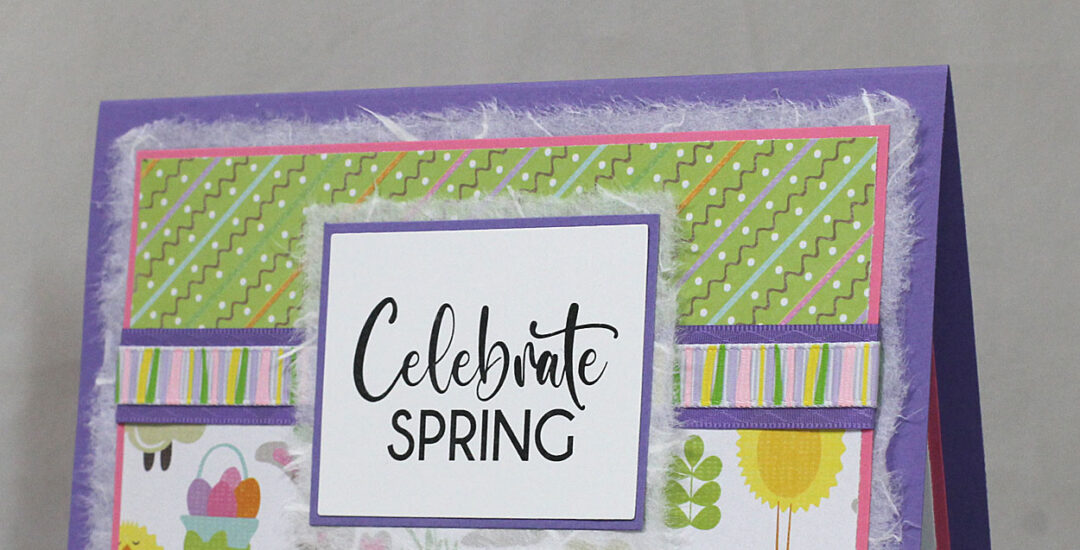
Celebrate Spring with NEW Digital Stamps from Bonnie Garby Designs
Hello friends. Today I'm sharing a pretty spring greeting card embellished with some pretty ribbons from Really Reasonable Ribbon and a new Digital Stamp Bundle from Bonnie Garby Designs. I created a 6-3/4" x 4-3/4" top fold card with a few layers. My digital...
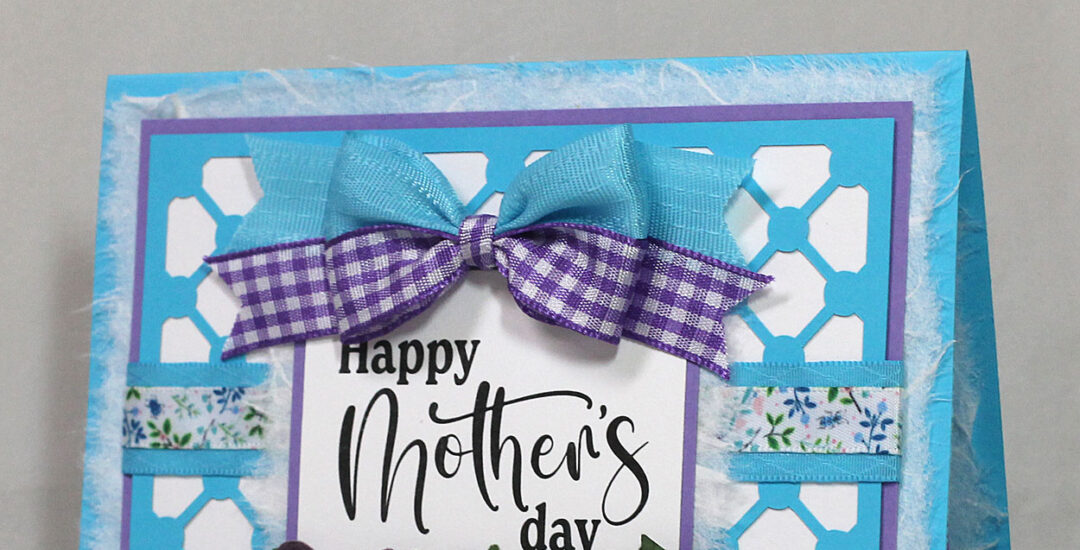
Really Reasonable Ribbon April Blog Hop
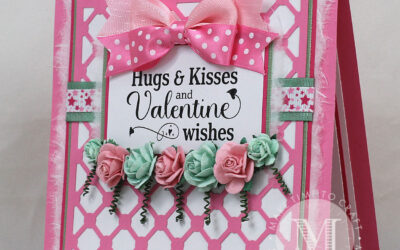
This month I am showcasing a Mother's Day greeting card using ribbon and mulberry flowers from Really Reasonable Ribbon along with digital stamps and svg cut files from Bonnie Garby Designs. Welcome to the Really Reasonable Ribbon April Blog Hop. If you arrived here...
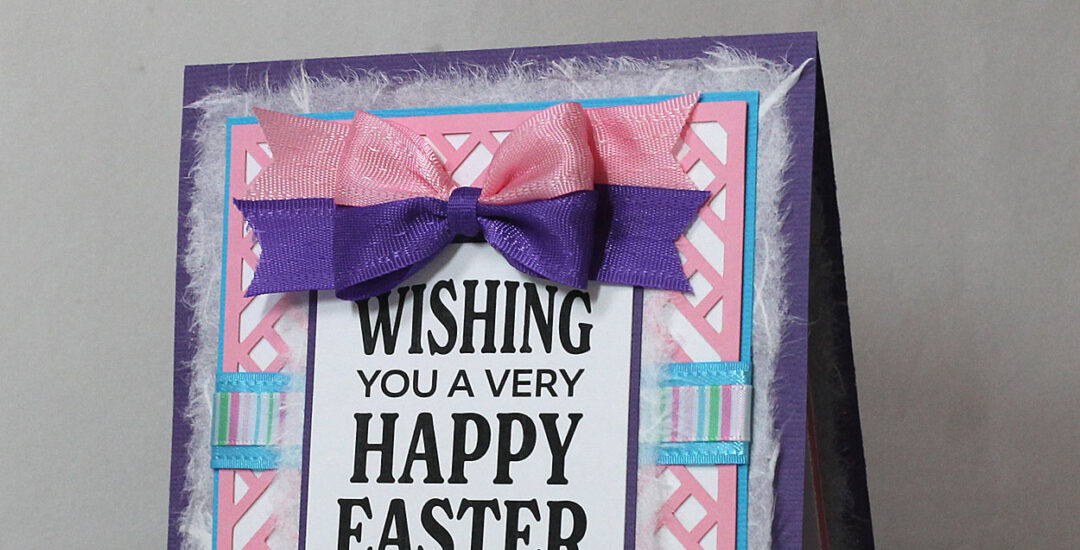
Really Reasonable Ribbon March Blog Hop
This month I am showcasing an Easter themed greeting card using ribbon and mulberry flowers from Really Reasonable Ribbon along with digital stamps from Bonnie Garby Designs. Welcome to the Really Reasonable Ribbon March Blog Hop. If you arrived here...
Really Reasonable Ribbon February Blog Hop
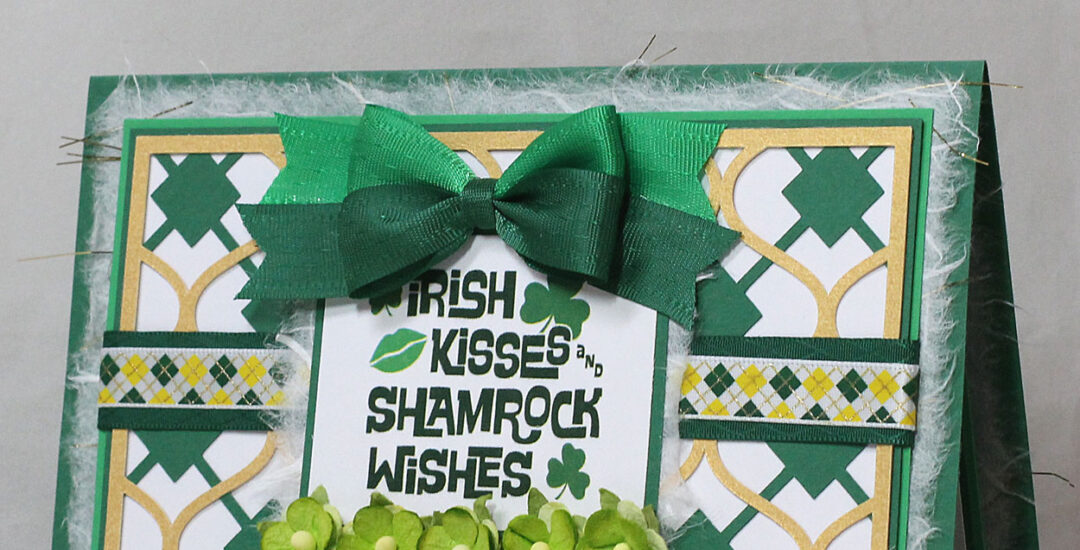
This month I am showcasing a St. Patrick's Day themed greeting card using ribbon and mulberry flowers from Really Reasonable Ribbon along with digital stamps from Bonnie Garby Designs. Welcome to the Really Reasonable Ribbon February Blog Hop. If you arrived here...
![]()
Really Reasonable Ribbon January Blog Hop
My cast for my broken wrist if finally off and I'm back in my craft room!! This month I am showcasing a Valentine themed project using ribbon and mulberry flowers from Really Reasonable Ribbon along with digital stamps from Bonnie Garby Designs. Welcome to the Really...
Really Reasonable Ribbon November Blog Hop
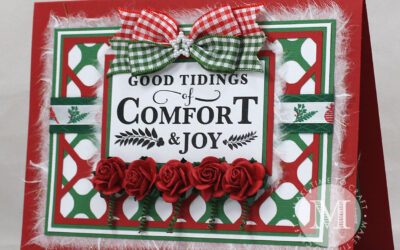
I broke my right arm on Thursday of last week (!!!), so this month I will be showcasing some of my favorite Christmas cards that I've done over the last year. You may have seen them before, but hopefully they will still provide some inspiration. They all...
Really Reasonable Ribbon October Blog Hop
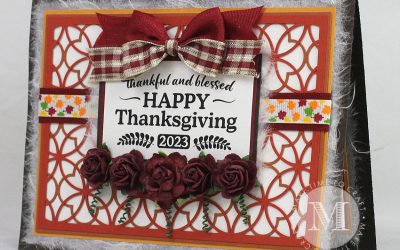
This month I am showcasing a Thanksgiving themed project using ribbon and mulberry flowers from Really Reasonable Ribbon along with digital stamps from Bonnie Garby Designs. Welcome to the Really Reasonable Ribbon October Blog Hop. If you arrived here...
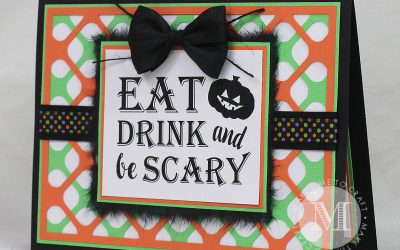
Really Reasonable Ribbon September Blog Hop
This month we are showcasing Halloween themed projects using ribbon and flowers from Really Reasonable Ribbon along with digital stamps and svg cut files from Bonnie Garby Designs. Welcome to the Really Reasonable Ribbon September Blog Hop. If you arrived here from...